SUPERCHARGE YOUR ONLINE VISIBILITY! CONTACT US AND LET’S ACHIEVE EXCELLENCE TOGETHER!
Optimizing your website’s SEO can be achieved effectively with Python programming approaches, particularly through natural language processing (NLP) and bulk canonical tag generation. NLP, a branch of artificial intelligence, enables computers to understand and analyze human language, providing insights into your content’s readability and relevance for search engines. Using TextRazor, you can analyze URLs and keywords to enhance your content strategy and improve search engine rankings. Additionally, Python can be used to generate bulk canonical tags, helping search engines determine the primary version of similar pages and avoid duplicate content issues. By leveraging these Python-based tools, you can enhance your website’s SEO performance and ensure your content is optimized for both users and search engines.
What is Natural Language Processing (NLP)?
Natural language processing (NLP) is a branch of artificial intelligence focused on computer science. NLP’s primary goal is to give computers the ability to understand written text, human language, and analyze large corpuses of natural language data.

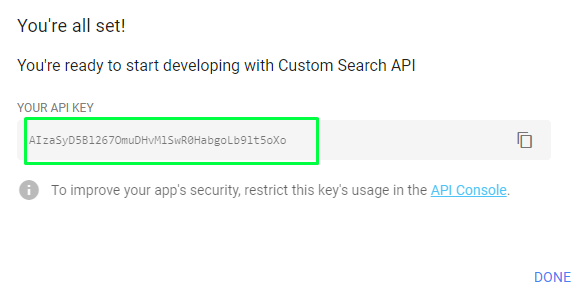
- Go to textrazor.com so you can set up your account.

- Click “Free API Key” and go through the process of entering your information and verifying your email so you can grab your free API key.


- Install TextRazor and other Python Libraries
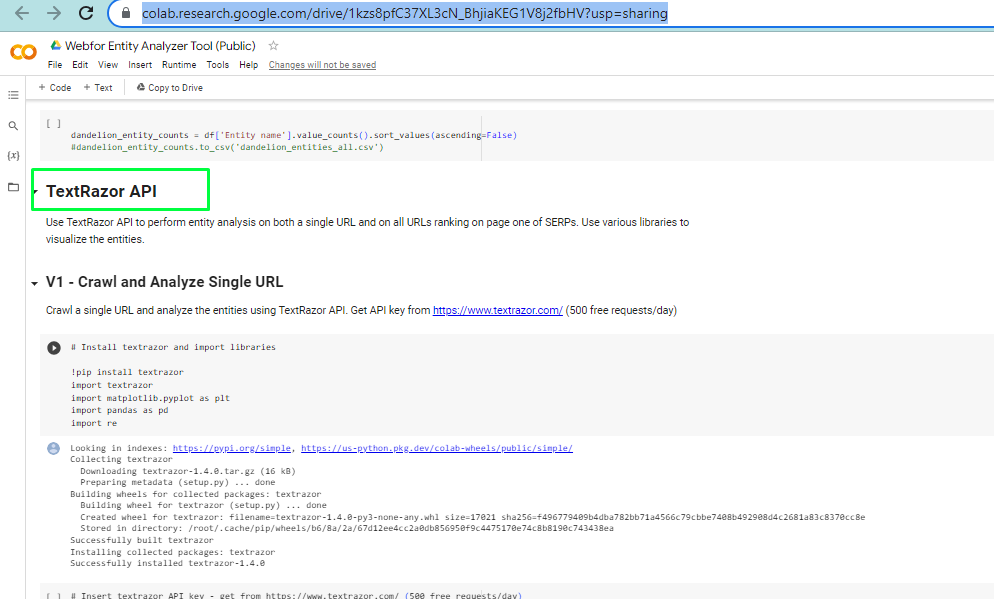
https://colab.research.google.com/drive/1kzs8pfC37XL3cN_BhjiaKEG1V8j2fbHV?usp=sharing
- Run the first cell to install and import TextRazor
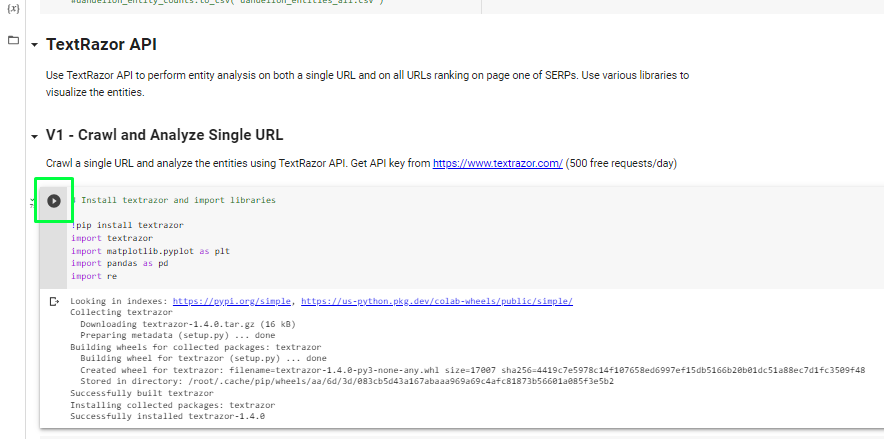
Run the first cell to install and import TextRazor and other needed Python libraries.
- Insert TextRazor API Key and Run

- Create TextRazor Class and Enter URL to Analyze.

- Create Dataframe with TextRazor Entities for URL

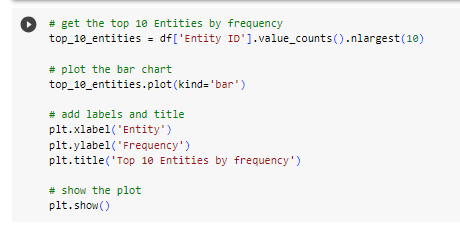
- Visualize TextRazor Top Entities using Matplotlib & Display values in Pandas dataframe

Analyze SERP Results using TextRazor (TextRazor V2)
- Install and import Advertools

- Insert Keyword and Crawl Page 1 of SERPs
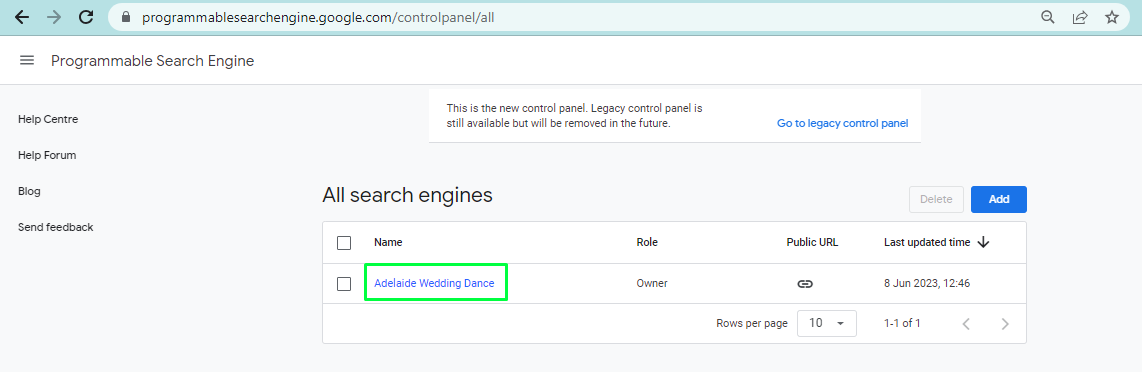

https://developers.google.com/custom-search/v1/overview#api_key


Now enter your query, search engine ID, and Google Search API key
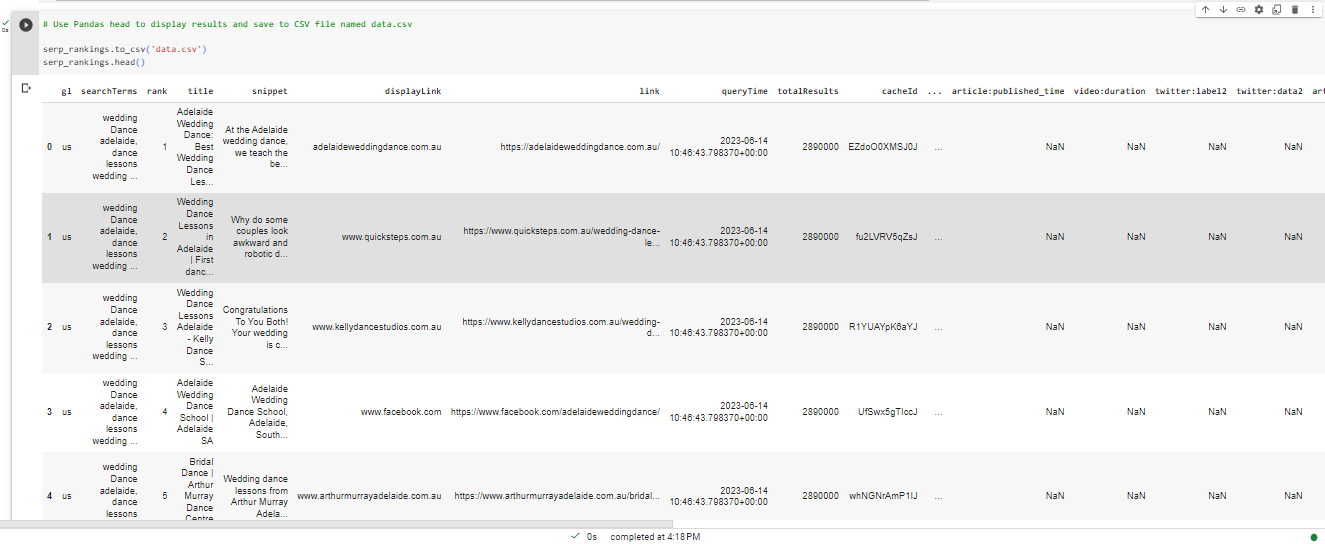
- Save Rankings to CSV file

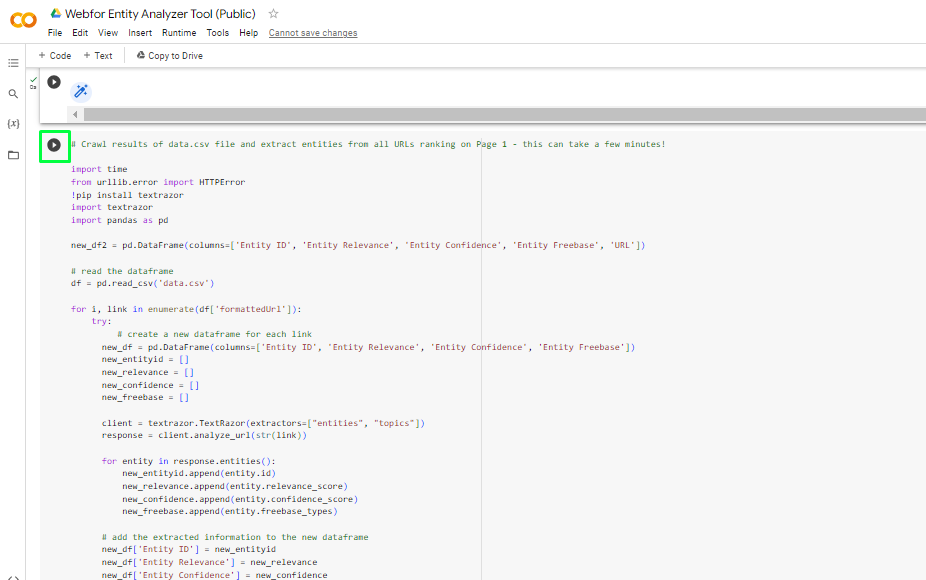
- Crawl and Analyze Rankings with TextRazor API
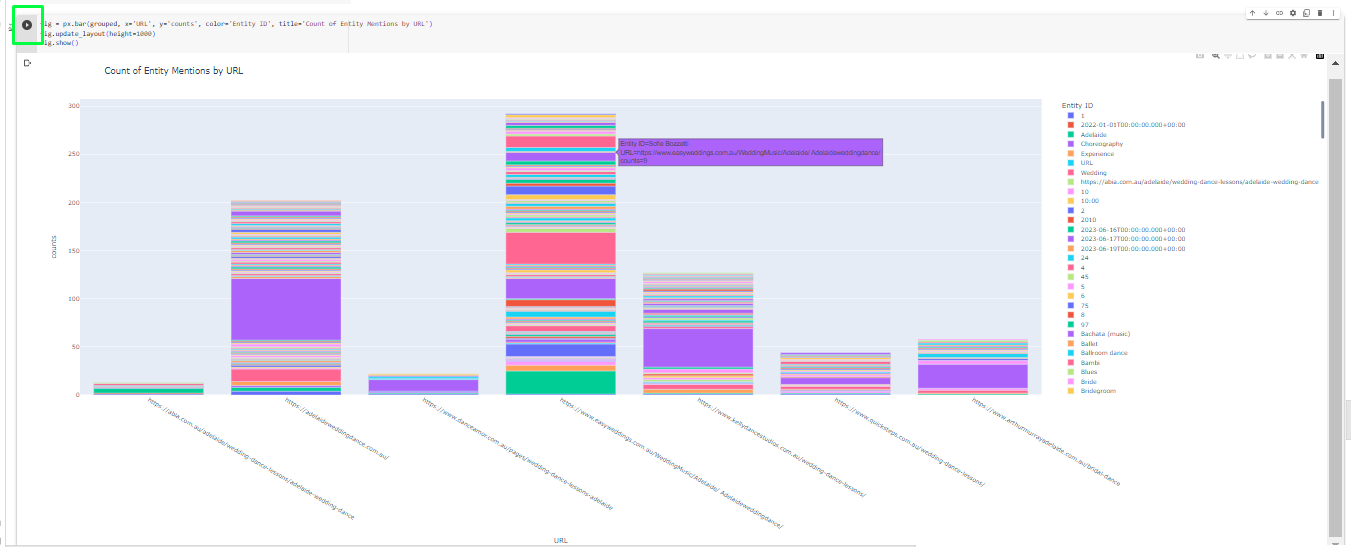
- Group Entities by URL and Count Entity Mentions

- Visualize Entities Using Plotly
Bulk Canonical Tag Generator Using Python
A canonical tag (or rel=canonical) is a small piece of HTML code that helps search engines to determine the “main” version of the page from the rest of the pages that are identical or very similar to it.
Step 1:
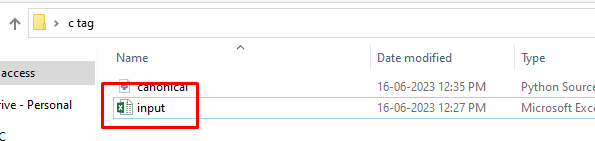
Create a folder on desktop. And –
Create an xlsx file, rename it to “input”
Open the input file and create 2 column –

Take the URLs from screaming frog, and paste it on url_column tab.(Only relevant URL or desired URLs)
Now, paste the same urls on the canonical column for self-referencing canonical tag, or you can set any desired canonical for desired url.
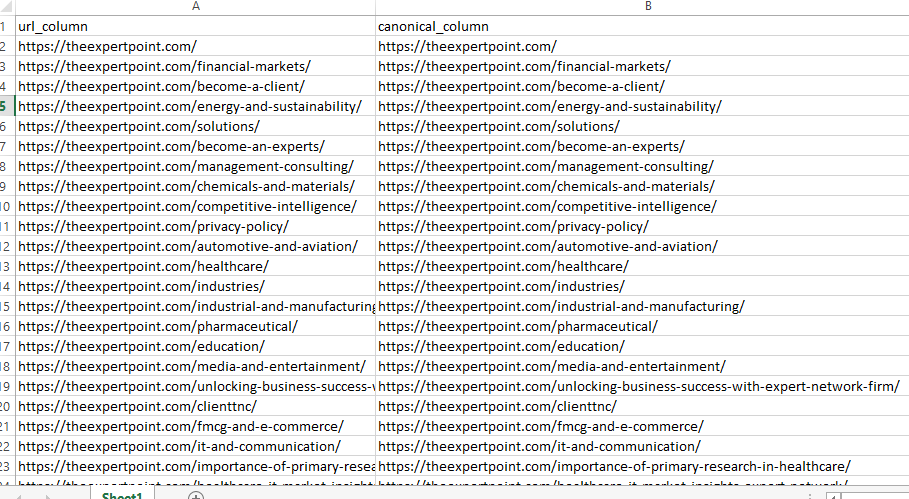
Now save it.
Step 2:
Copy the this python code and save it on that folder –
import openpyxl
def generate_canonical_tags(filename):
# Load the XLSX file
workbook = openpyxl.load_workbook(filename)
sheet = workbook.active
# Get the maximum number of rows in the sheet
max_row = sheet.max_row
# Define the column indices for relevant data
url_column = 1
canonical_column = 2
# Iterate over the rows and generate the Canonical Tags
canonical_tags = []
for row in range(2, max_row + 1): # Start from row 2, assuming headers are in row 1
url = sheet.cell(row=row, column=url_column).value
canonical = sheet.cell(row=row, column=canonical_column).value
if url and canonical:
canonical_tag = f'<link rel=”canonical” href=”{canonical}” />’
canonical_tags.append((url, canonical_tag))
return canonical_tags
# Example usage
input_filename = ‘input.xlsx’
output_filename = ‘output.xlsx’
# Generate Canonical Tags
canonical_tags = generate_canonical_tags(input_filename)
# Create a new workbook and sheet for output
output_workbook = openpyxl.Workbook()
output_sheet = output_workbook.active
# Write the headers
output_sheet.cell(row=1, column=1).value = ‘URL’
output_sheet.cell(row=1, column=2).value = ‘Canonical Tag’
# Write the generated Canonical Tags to the sheet
for row, (url, canonical_tag) in enumerate(canonical_tags, start=2):
output_sheet.cell(row=row, column=1).value = url
output_sheet.cell(row=row, column=2).value = canonical_tag
# Save the output workbook to a file
output_workbook.save(output_filename)
print(f”Canonical Tags generated and saved to ‘{output_filename}’ successfully!”)
Rename it “canonical”
Like this –

Now open anaconda prompt –
And select your folder using cd command –

And type – python canonical.py
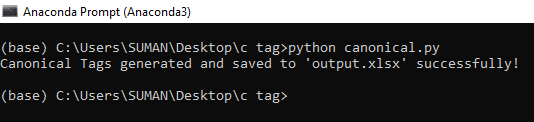
The file is generated for bulk canonical tags –
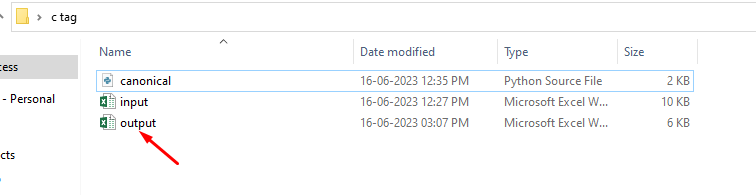

Now we can implement those tags on head section of desired pages.
How NLP and CANONICAL TAG GENERATOR USING PYTHON Enhances Your Website’s SEO
NLP
Natural language processing (NLP) is an essential tool for improving your website’s SEO in several effective ways:
- Keyword Optimization:
NLP helps identify and analyze the most relevant keywords and phrases within your content, ensuring your website targets terms that resonate with your audience and improve search engine rankings.
- Content Analysis and Improvement:
By understanding the context and semantics of your content, NLP can guide you in improving readability, tone, and structure. This makes your content more engaging and valuable to users, as well as more easily understood by search engines.
- User Intent Analysis:
NLP can interpret user queries and their intent, allowing you to tailor your content to meet user needs better. This helps match your content with relevant search queries, enhancing your website’s visibility in search results.
- Semantic Search and Topic Modeling:
NLP can identify related topics and semantic relationships within your content, helping you create comprehensive content that addresses a wider range of user queries and improves your website’s topical authority.
- Sentiment Analysis:
Understanding the sentiment of user-generated content such as reviews and comments can guide you in making improvements to your offerings and reputation. It can also inform your content strategy, helping you create content that aligns with user expectations and preferences.
- Structured Data and Schema Markup:
NLP can help you understand and implement structured data and schema markup in your content. This enhances search engine understanding and indexing of your website, potentially leading to rich snippets and improved SERP visibility.
- Content Customization:
By understanding the nuances of language and user preferences, NLP enables you to customize your content for different audience segments, providing a more personalized user experience and potentially boosting engagement and conversions.
- Voice Search Optimization:
NLP is essential for optimizing your website for voice search. By focusing on natural language queries and conversational phrases, you can improve your website’s performance in voice search results.
By leveraging NLP, you can create content that aligns closely with user intent, improves readability and engagement, and enhances your website’s visibility and authority in search engine results.
CANONICAL TAG GENERATOR USING PYTHON
A canonical tag generator using Python can significantly enhance your website’s SEO in the following ways:
- Prevents Duplicate Content Issues:
Canonical tags help search engines understand the preferred version of similar or identical pages, preventing them from indexing duplicate content. This ensures that search engines focus on the primary version of the page, protecting your site’s ranking.
- Optimizes Crawl Budget:
By pointing search engines to the main version of content, canonical tags reduce the crawl budget wasted on duplicate or unnecessary pages. This allows search engines to spend more time crawling important pages on your site.
- Improves SERP Rankings:
Using canonical tags correctly can improve the accuracy and relevance of your website’s SERP rankings. By consolidating link equity and signals to the canonical URL, you can strengthen the authority of a single page instead of spreading it across multiple similar pages.
- Enhances User Experience:
A canonical tag generator helps maintain a consistent user experience by ensuring users are directed to the most relevant page, reducing confusion and streamlining navigation.
- Facilitates Website Maintenance:
Automating the generation and implementation of canonical tags using Python simplifies website management and maintenance. It ensures consistent application across your site, which can be particularly beneficial for large websites with many similar pages.
- Informs Search Engines of Preferred Content:
Canonical tags provide clear signals to search engines about which content is preferred for indexing and ranking. This can enhance your website’s performance in search results and ensure that users find the most authoritative version of your content.
By using Python to generate and implement canonical tags, you can streamline your SEO efforts, prevent duplicate content issues, and enhance your website’s visibility and authority in search engine results pages.
Boosting SEO and User Experience with Python Programming
Optimizing your website’s SEO using Python programming approaches can lead to significant improvements in search engine visibility and user experience. Natural language processing (NLP) enhances your content’s relevance and readability by identifying key phrases, analyzing user intent, and customizing content for specific audience segments. Bulk canonical tag generation using Python helps prevent duplicate content issues, optimizes your crawl budget, and improves SERP rankings by guiding search engines to the primary version of your pages. By leveraging these Python-based tools, you can maintain a streamlined, user-friendly website with enhanced authority and performance.
Ready to boost your website’s SEO with advanced Python programming techniques? Partner with ThatWare for expert NLP and canonical tag generation solutions. Contact us today to optimize your content and improve your search engine visibility!