SUPERCHARGE YOUR ONLINE VISIBILITY! CONTACT US AND LET’S ACHIEVE EXCELLENCE TOGETHER!
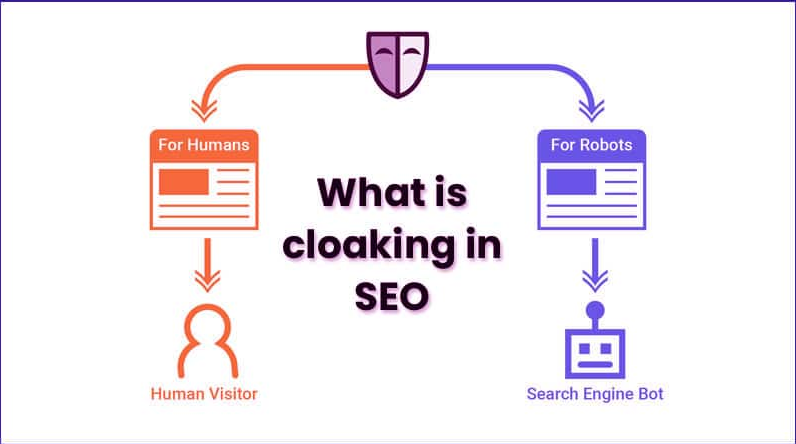
Cloaking in SEO refers to a deceptive technique where the content presented to search engines differs from what is shown to users. It involves showing different versions of a webpage to search engine crawlers and actual visitors, with the aim of manipulating search engine rankings. The major 3 core SEO elements are here.

Cloaking violates search engine guidelines because it provides misleading information to search engines, compromising the accuracy and relevance of search results. Search engines strive to deliver the most relevant and valuable content to users, and cloaking undermines this objective.
Webmasters may use cloaking to present optimized content to search engines while showing different, possibly irrelevant or spammy content to users. By doing so, they try to achieve higher rankings for certain keywords or manipulate search engine algorithms to drive more traffic to their website.
Search engines employ sophisticated algorithms and techniques to detect cloaking and penalize websites that engage in such practices. Penalties can range from a decrease in rankings to complete removal from search engine results (core SEO elements).
It’s essential for website owners and SEO practitioners to adhere to ethical SEO practices that provide genuine, valuable content to both search engines and users.
It is quite normal that your website got hacked nowadays and cloaked by hackers, so we have to that is our website is cloaked or not.
Go to this URL – https://smallseotools.com/cloaking-checker/
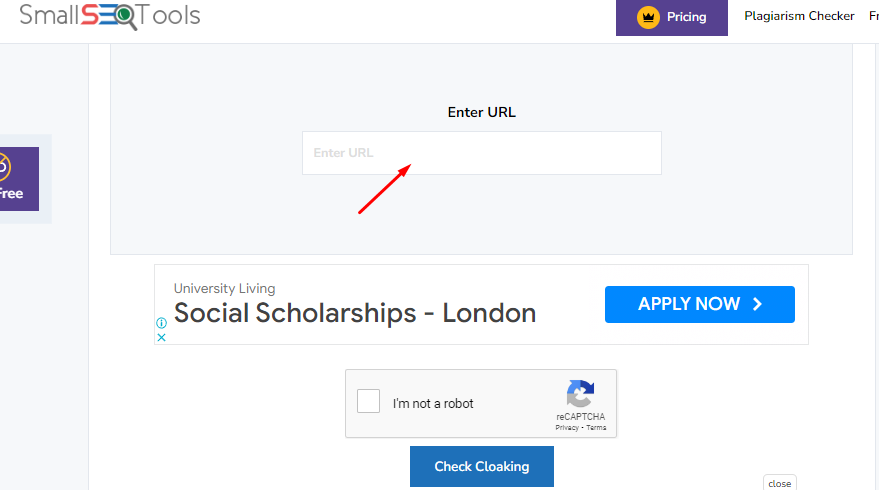
Paste your website URL and hit submit.
Result:
It shows possible cloaking attempted.
Because this website was hacked earlier, currently all malwares are deleted.
To prevent it you should buy a malware protection plan from your hosting service provider.
https://theexpertpoint.com/ – Website has an active malware plan from godaddy.
⭐️How To Extract OG Tag Data Of A Website
To extract the OG tag data of any website, Then check the following core SEO elements and steps:
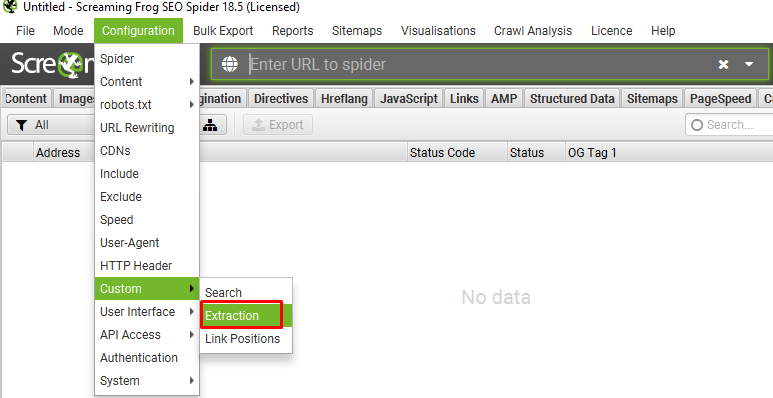
1) Click ‘Configuration > Custom > Extraction
Click ‘Configure >Custom > Extraction’ from the top-level menu to open the custom extraction menu.
2) Input Your Syntax
After clicking the “Extraction” Menu, Insert the following syntaxes to extract OG tag details. Here the OG tag of ‘Title’, ‘Description’, ‘Type’, & ‘URL’ will be extracted.
So the Xpath syntax of these OG tags are-
//meta[starts-with(@property, ‘og:title’)]/@content
//meta[starts-with(@property, ‘og:description’)]/@content
//meta[starts-with(@property, ‘og:type’)]/@content
//meta[starts-with(@property, ‘og:url’)]/@content
Here the tag names are “OG Tag Title”, “OG Tag Description”, “OG Tag Type”, “OG Tag URL”; The path input will be “XPath”, & the output type will be “Exact Text”.
3) Crawl The Website
Then, input the website address into the URL field at the top and click ‘start’ to crawl the website.
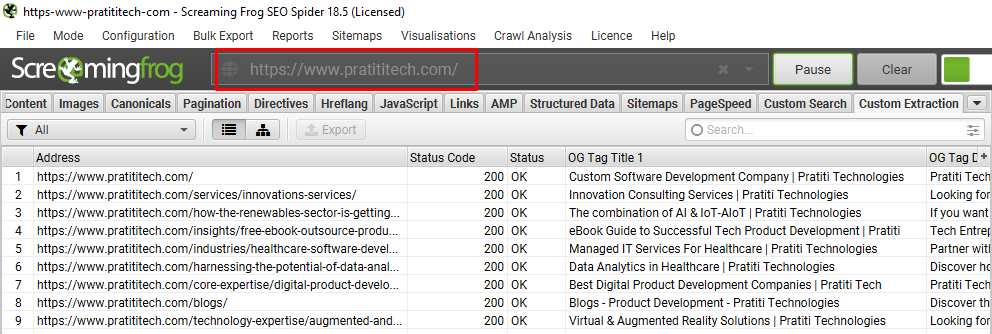
4) View Scraped Data Under The Custom Extraction Tab

On “Custom Extraction” Tab, all OG tag data will be shown.
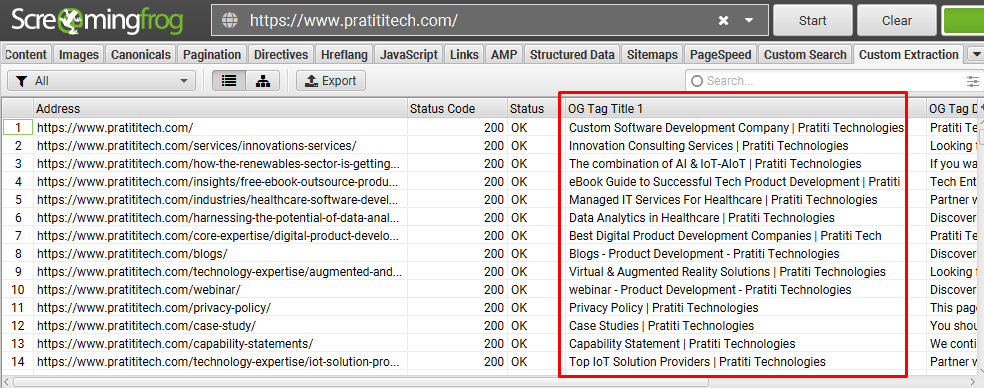
Here is OG tag Title data are showing,
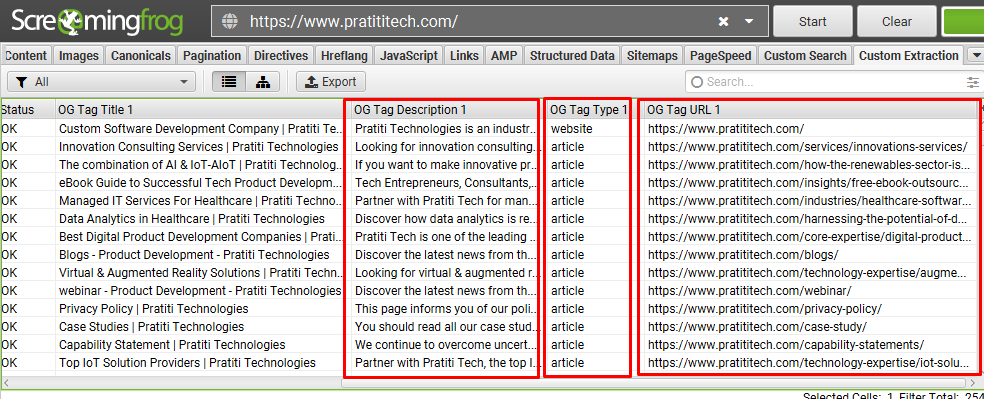
And Here, OG tag Description, OG tag Type, & OG tag URL data are showing respectively.
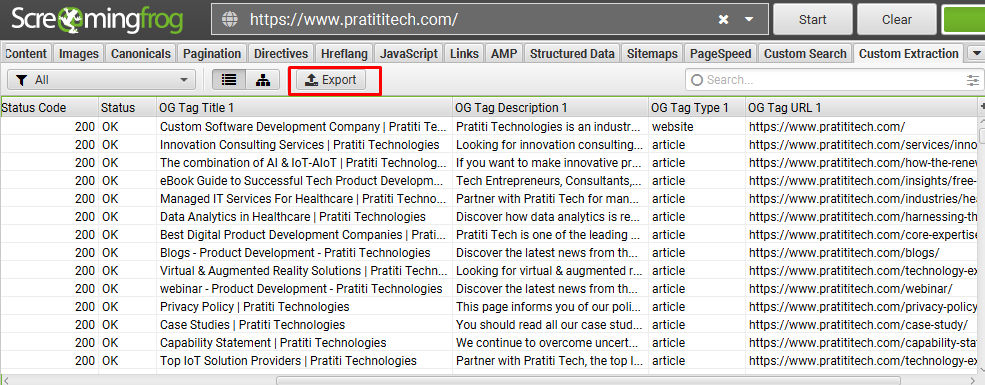
5) ‘Export’ The Data
This step is optional. If the OG tag data need to be exported, then click on the Export tab to get all the data.
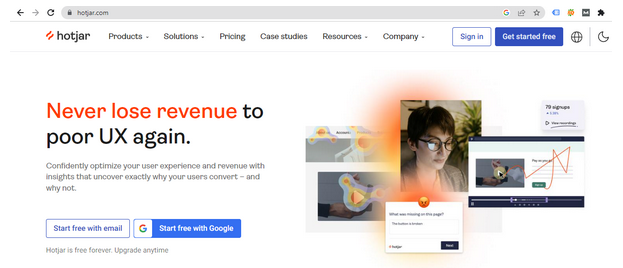
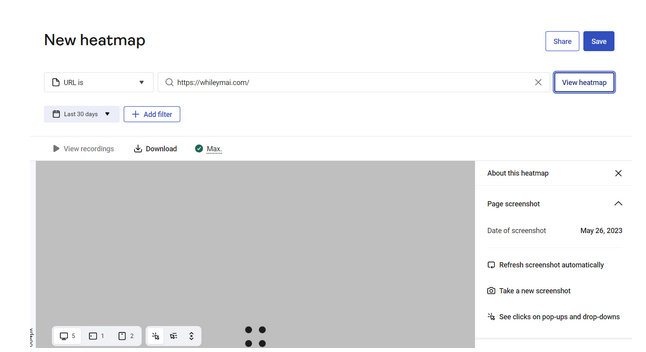
⭐️What is hotjar heatmap?
Hotjar heatmaps give you an aggregated view of user behaviour, showing you how visitors have interacted with your pages over time. When visitors land on a page, Hotjar collects their user behaviour and maps the elements visitors interact with, in aggregate, to your master heatmap analytics report.
How to generate a hotjar heatmap for a shopify website?
To generate a Hotjar heatmap for a Shopify website, you can follow these steps:
- Sign in to your Hotjar account: Visit the Hotjar website (https://www.hotjar.com/) and sign in using your Hotjar credentials.
- Set up your website: Once you’re signed in, you’ll need to set up your Shopify website in Hotjar. Click on the “New Site” button and enter the URL of your Shopify store.

- Install Hotjar tracking code: Hotjar provides a tracking code snippet that needs to be added to your Shopify website. Copy the provided code.
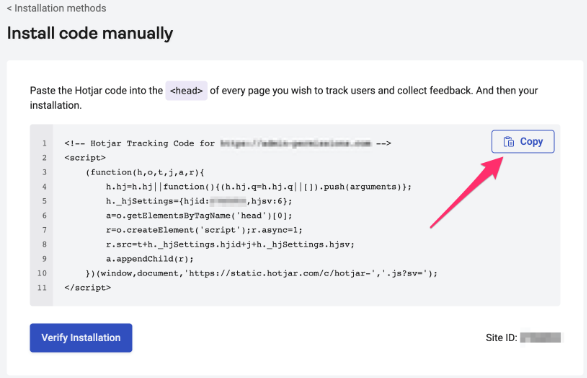
- Manual installation:
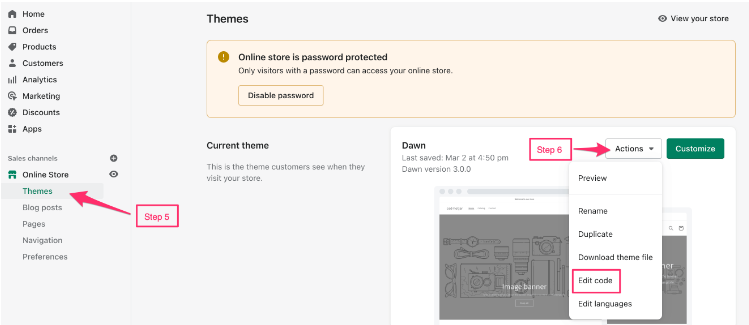
- In a separate browser tab, log in to your Shopify admin.
- Go to “Online Store” and click on “Themes”.
- Find your current theme and click on the “Actions” button, then select “Edit Code”.
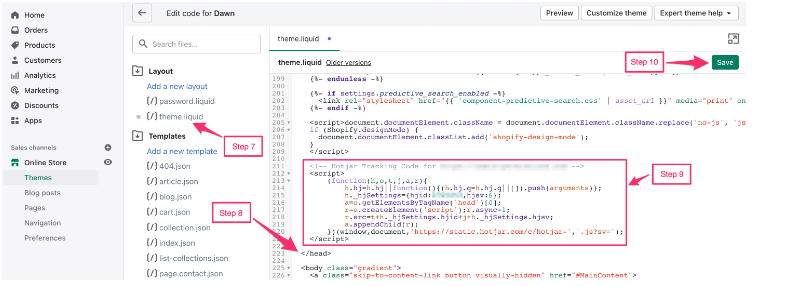
- Locate the theme.liquid file and open it.
- Paste the Hotjar tracking code just before the closing </head> tag.
- Save the changes.
- Verify the installation: Go back to your Hotjar dashboard and click on the “Verify Installation” button. Hotjar will check if the tracking code is successfully installed on your Shopify website.

- Configure heatmap settings: After verifying the installation, go to the “Heatmaps” section in your Hotjar dashboard. Configure the heatmap settings according to your preferences, such as the interactions to track (clicks, taps, moves, scrolls), page targeting, sample size, etc.
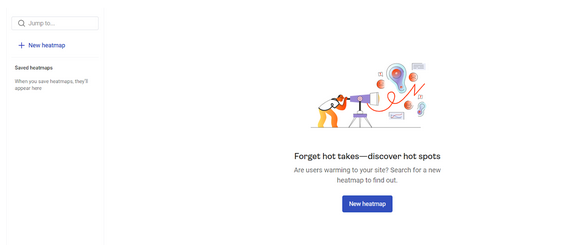
- Start recording heatmaps: Once the settings are configured, click on the “Start Recordings” button to begin recording user interactions and generating heatmaps for your Shopify website.
- Analyze the heatmaps: Allow Hotjar some time to collect sufficient data for accurate heatmaps. Once enough data is gathered, go back to the Hotjar dashboard and access the “Heatmaps” section. You will find a list of available heatmaps for your Shopify store. Click on a specific heatmap to view it in detail and analyze user behavior.
The Heatmap for How the users move and scroll onto the website:


Explanation: This is how users move in the website and scroll the website. Like in the red area the users crawl the most and the sky blue area users crawl the least.
Average Time on page:
Clicks on the page:
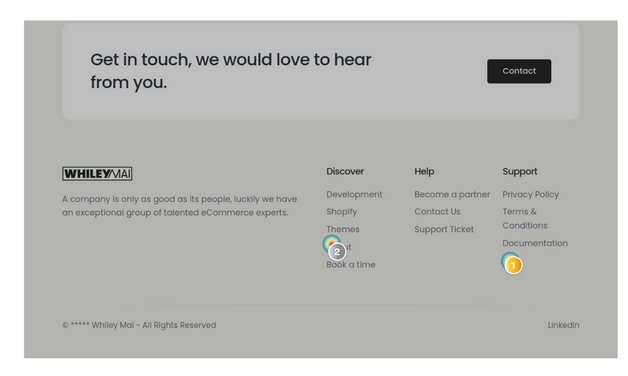
Conclusion:
This Heat map report helps you understand how users and customers interact with your website, giving insight into things like where they’re looking and how far down they’re scrolling. This can help you set up your site in a more user-friendly way.