SUPERCHARGE YOUR ONLINE VISIBILITY! CONTACT US AND LET’S ACHIEVE EXCELLENCE TOGETHER!
Embarking on a website migration journey can be both exhilarating and daunting. As the digital landscape evolves, so do the strategies required to maintain visibility and relevance. At ThatWare, we understand the intricacies involved in preserving your online presence while undergoing a migration process. With our wealth of experience in search engine optimization (SEO) and website development, we’ve crafted this comprehensive roadmap to guide you through every stage of the migration journey.
In today’s fast-paced digital ecosystem, ensuring a seamless transition during a website migration is crucial to safeguarding your hard-earned SEO efforts and maintaining your ranking positions. Our roadmap is designed to equip you with the tools and knowledge necessary to navigate this complex terrain successfully. Whether you’re migrating to a new domain, restructuring your website, or implementing HTTPS, our step-by-step guide will help you mitigate risks and maximize opportunities for growth.
As advocates for sustainable SEO practices, we recognize the importance of integrating SEO considerations into every aspect of the migration process. From conducting comprehensive audits to implementing redirects and monitoring post-migration performance, our roadmap prioritizes the preservation of your organic search visibility. With ThatWare as your trusted partner, you can embark on your website migration journey with confidence, knowing that your SEO foundation is in expert hands.
Join us as we delve into the intricacies of website migration and uncover the strategies that will propel your online presence to new heights. Let ThatWare be your compass in navigating the ever-evolving digital landscape, ensuring that your website migration is not just a transition but a catalyst for sustainable growth.
Hope you have completely done with the pre website migration procedure and your website is ready to launch, now following the post SEO migration checklist you need to have some necessary checks after the website deployment. The points are here in a nutshell:
Step 1: Audit Your New Migrated Site
Run a fresh audit for the newly migrated site to find out if any new issues occurred. Use the Screaming Frog tool to run the detailed audit. This forms the first and foremost step for post SEO migration.
Step 2: Check Google Search Console
After the site is live, you should open Google Search Console and upload an updated sitemap. Doing this will help to index your new site. After uploading the new sitemap, you can monitor the following:
- Monitor Indexing
- Monitor Crawl Stats
- Monitor Google Crawl Frequency
- Monitor ‘Not Found URLs” setup redirects
- Monitor Improvements Recommendations & Implement
If you see any issues, contact the development team and fix them as early as possible before your rankings are significantly hurt.
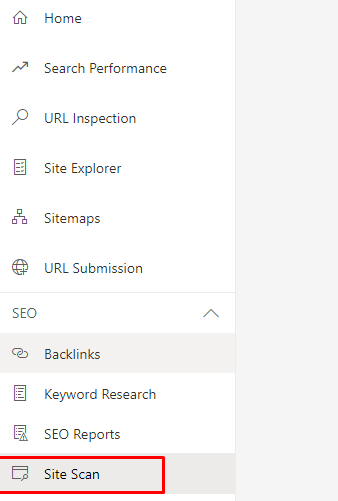
Step 3: Check Bing Webmaster Tools as Post SEO Migration Check-up
Bing has also advanced the site scan feature to help you with the issues findings for your site. Make sure to check for errors on the Bing dashboard if any appears and try fixing those for better crawling and indexing rate.
Step 4: Check Indexation Rate and Ranking Status
Generally, a website gets affected in terms of indexation and rankings in the SERP. So go to the SERP and check a number of indexed pages as follows:
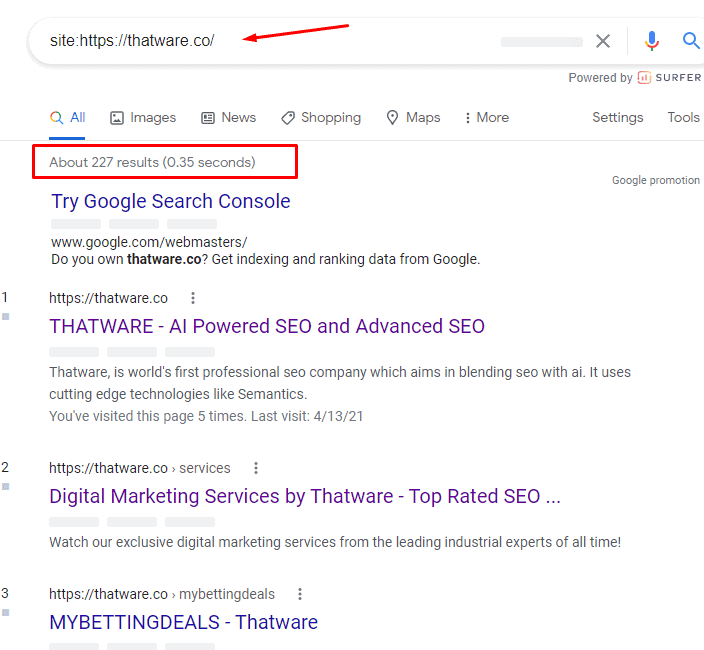
Currently indexed URLs 227, if the number of indexed pages doesn’t increase post-migration, there might be some issues with the 301 redirects.
And for ranking you should already have the tracking record for that and following that do the checks again, if it get slides, then you need to invest improving your SEO score in terms of onpage, technical and offsite activities.
Step 5: Inbound links should be updated
If you already had some links coming from other high valued sites, then contact external blogs, websites, and other resources to inform them of the new location. Prioritise this for the pages that you identify as extremely important for your SEO and ask any link relevant to that page to be updated.
Step 6: Launch Disavow for Low-Quality Links
The migration of your website has migrated all the links consists both good and bad. You need to request the harmful (low authority) links to be removed or set to no-follow. And any such link that you are unable to remove or no-follow should be disavowed. In order to do this follow the steps here:
- Use Ahrefs tool
- Extract all backlinks from the backlinks tab
- If you find backlinks having 0 to 10 domain rating, filter them out in excel, and save them in a .txt file and request for disavowing in this tool here:
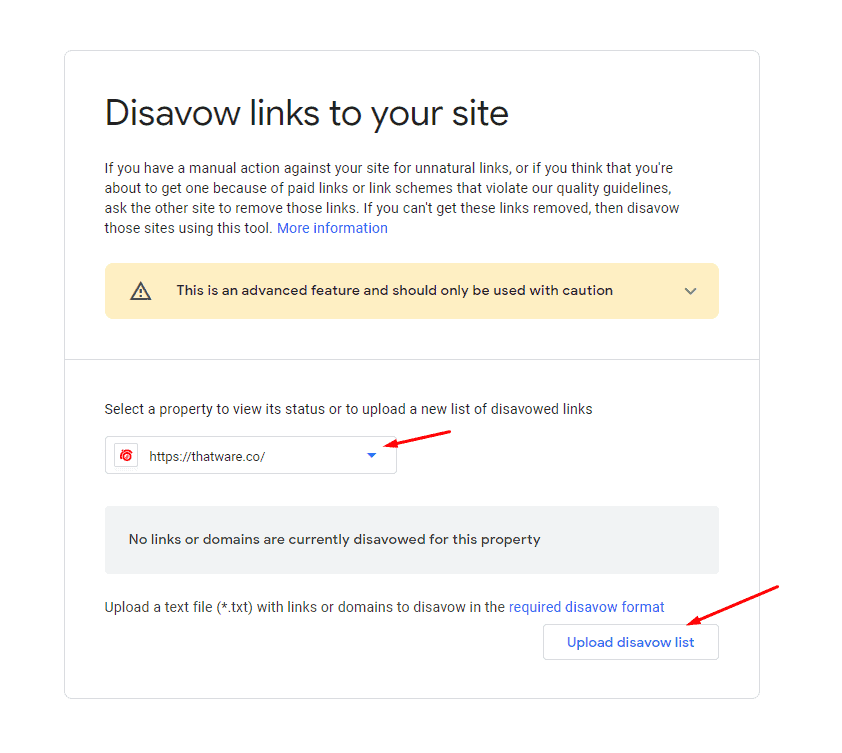
https://search.google.com/search-console/disavow-links
Once you upload the list, it will be processed within weeks for disavow.
Step 7: Monitor Google Analytics
To track the ups and downs comparison between pre and post SEO migration you need to analyse the data of Google Analytics and act accordingly in order to improve the graph.
So, doing all these steps altogether you can set up a newly migrated site. Hope this guide will cover up most of the key things to remember after your site goes live post-migration.
Wrapping up Post SEO Migration
Post SEO migration can help a website to be penalty free and also helps a campaign to remain error free during a transit. This phase is very essential as it helps to keep control of SEO power intact within a website!
SEO Post Website Migration Roadmap is essential
- Preserving SEO Equity: Website migrations can significantly impact SEO performance if not executed properly. The roadmap helps in safeguarding the SEO equity accumulated over time by ensuring that all necessary measures are taken to maintain rankings and visibility. When a website undergoes migration, it’s essential to preserve the SEO equity accumulated over time. This equity encompasses factors like keyword rankings, backlinks, domain authority, and overall search engine visibility. Without careful planning and execution, migrations can disrupt these elements, leading to a loss in rankings and visibility. To safeguard SEO equity, the roadmap emphasizes the need for meticulous attention to detail at every stage of the migration process. This includes mapping old URLs to new ones, implementing 301 redirects for any changed URLs, preserving key metadata such as title tags and meta descriptions, and ensuring that internal linking structures remain intact.
Additionally, the roadmap advocates for conducting thorough pre-migration audits to identify any existing SEO issues that need to be addressed before migration. By addressing these issues proactively, website owners can prevent potential drops in SEO performance post-migration.
- Minimizing Traffic Loss: Without a well-thought-out plan, migrations can lead to temporary or permanent drops in website traffic. The roadmap outlines strategies to mitigate traffic loss during and after the migration process, helping to minimize disruptions to your online presence. Additionally, the roadmap emphasizes the importance of communicating with stakeholders, such as users and external websites, to inform them of the migration and any changes that may affect them. Clear communication can help mitigate confusion and minimize the impact on user experience, ultimately reducing the risk of traffic loss.
- Avoiding Technical Issues: Website migrations involve technical changes that can inadvertently affect SEO elements such as URLs, page structure, and metadata. By following the roadmap, you can identify and address potential technical issues before they impact your search rankings. To avoid technical issues, the roadmap advocates for thorough testing and validation of the new website before and after migration. This includes conducting comprehensive checks for broken links, ensuring that redirects are properly implemented and functioning as intended, and validating the new website’s markup and schema data. Additionally, the roadmap recommends closely monitoring the website’s performance post-migration and promptly addressing any technical issues that arise. This proactive approach can help prevent potential drops in search rankings and ensure a smooth transition to the new website.
- Ensuring Proper Indexing: Search engines need to re-crawl and re-index your website after migration to update their databases. The roadmap includes steps to facilitate this process, ensuring that your new website is properly indexed and discoverable by search engines.
- Maintaining User Experience: A smooth migration is not just beneficial for search engines but also for user experience. The roadmap emphasizes the importance of preserving user experience during the migration process to prevent negative impacts on usability and engagement.
- Maximizing Opportunities for Improvement: While migrations pose challenges, they also present opportunities for improvement and optimization. The roadmap guides you in leveraging the migration process to implement SEO best practices, enhance website performance, and drive sustainable growth.
In summary, the SEO Post Website Migration Roadmap is indispensable for ensuring a seamless transition to a new website while safeguarding your SEO efforts and maximizing opportunities for success in the digital landscape.
Understanding Website Migration’s Impact on SEO
1. Preserving SEO Equity After Migration.
Website transfer can be a difficult procedure in terms of SEO. One of the most critical components of post-migration SEO is to preserve your site’s SEO equity. SEO equity is the ranking power your website has accumulated over time, which includes domain authority, backlinks, and internal structure. When relocating, these elements must be carefully kept to avoid ranking drops. Failure to use suitable redirects, lose backlinks, or change URL architecture might result in the loss of significant SEO equity.
The roadmap ensures that the following SEO aspects are carried over to the new site:
Mapping old URLs to new URLs: Make sure that any URLs that change are correctly redirected (301 redirects) to their new destination.
Metadata Preservation: Keep the title tags, meta descriptions, and header tags intact.
Internal Linking: Check internal linking structures to ensure they are not disrupted after migration.
2. Monitoring SEO Metrics Following Migration
Once your website is live after transfer, it is critical to monitor SEO performance. To guarantee that your site’s rankings were not disrupted by the relocation, you should check a range of SEO data. Important metrics to focus on are:
Check for variations in organic traffic.
Keyword ranks: Monitor your ranks for crucial search terms.
Bounce Rate and Session Duration: Ensure that users are actively engaged with the material on the new website.
Using tools such as Google Analytics, Google Search Console, and Ahrefs allows you to compare data before and after migration, providing insight into how effectively your site is reacting to the changes.
3. Improving the User Experience during Migration
In terms of website migration, a pleasant user experience is just as crucial as technical SEO. Users should be able to visit your website without encountering broken pages, slow load times, or navigation challenges. The key to keeping your users pleased after migration is:
Site Speed Optimization: Ensure that your website loads quickly to avoid user annoyance.
Mobile Responsiveness: Ensure that your website is fully responsive across all devices.
Smooth Navigation: Avoid redesigning the navigation in ways that would confuse repeat visitors.
4. Develop a Strong Redirect Strategy
A poor or inadequate redirect strategy can be detrimental to SEO, resulting in broken links, 404 errors, and considerable traffic loss. A strong 301 redirect plan guarantees that your old URLs point to the correct new pages, protecting link equity and helping search engines understand the changes. Monitor the redirected pages to ensure they are functioning properly.
5. Rebuilding the backlink profile
Backlinks are one of the most important ranking elements in SEO, and keeping them intact during a website move is essential. Be sure to:
Contact high-value link providers: Contact high-authority websites that link to your old URLs and suggest they update their links to the new URLs.
Track lost backlinks: Use Ahrefs or Majestic to discover and recover lost backlinks.
Build New Links: As part of your post-migration strategy, search for new ways to get backlinks to help your website’s SEO.
6. Using the Migration for SEO Improvements
Website migration isn’t just about sustaining SEO; it’s also a wonderful opportunity to boost it. As you arrange the relocation, use the opportunity to
Improve technical SEO: Ensure that the new website is search engine optimized. This involves enhancing the URL structure, metadata, schema markup, and so on.
Optimize the site architecture: Reevaluate your site’s architecture and make adjustments to improve navigation and decrease crawl depth. A flat structure makes it easy for search engines to crawl and index your website.
Implement structured data: Adding structured data (schema markup) can help search engines better comprehend your material, resulting in higher visibility in search results, such as rich snippets.
7. Post-migration testing and quality assurance
Once your website has been released, it is critical to perform a post-launch quality assurance audit. This includes:
Ensuring Correct Implementation of Redirects: Double-check that all 301 redirects are working properly and that users and search engines are directed to the appropriate pages.
Test user interactions: Test critical user actions on your website, such as form submissions, to confirm that the migration hasn’t harmed the user experience.
SEO Crawling and Indexing: Ensure that search engines crawl and index the new site correctly. If errors emerge, take corrective action as quickly as possible to avoid a reduction in search ranks.
8. Keep Stakeholders in the Loop
Communication is essential during the website migration process. Ensure that all stakeholders—employees, developers, external agencies, and anybody else involved—are kept informed throughout the process. This will aid in collaboration and ensure that everyone understands the expectations for post-launch monitoring and upgrades.
Common SEO Pitfalls to Avoid After Migration
Even with meticulous planning, migrations can go awry. Below are some frequent dangers to be aware of:
- Not Testing Redirects Before Launch: Ensure that all 301 redirects are tested to avoid redirecting visitors to 404 error pages.
- Ignoring Mobile Optimization: With mobile-first indexing playing such an important role in SEO, failure to optimize for mobile could result in substantial SEO setbacks.
- Neglecting User Experience: SEO is more than simply technical concerns; if users are unable to navigate your site or discover what they are looking for, your SEO efforts will suffer.
- Overlooking Analytics Setup: Failure to properly configure Google Analytics and Google Search Console might make it impossible to track performance after migration.
Migration is just the beginning.
Website migration is a huge job, but it does not end once your new site goes live. The post-migration step is critical for ensuring that your SEO is secure and optimized for long-term viability. By following the roadmap and being proactive in performance monitoring, you can ensure a smooth transition that leads to higher rankings and a better customer experience.
With careful consideration for SEO components such as redirects, link building, content strategy, and monitoring, your website migration will be a seamless, successful operation that will improve your digital presence for years to come.
Partner with ThatWare for a seamless migration experience.
If you’re considering a website relocation, ThatWare is the SEO partner you need. With our skilled team on your side, we can ensure that your migration goes smoothly, maintaining your SEO ranking and fostering long-term growth. Contact us today to talk about your migration strategy and how we can assist you improve your SEO efforts.
Conclusion
In conclusion, the SEO Post Website Migration Roadmap serves as an indispensable guide for navigating the complexities of transitioning to a new website while safeguarding your SEO efforts. By following the roadmap’s comprehensive steps, you can preserve SEO equity, minimize traffic loss, avoid technical issues, ensure proper indexing, maintain user experience, and maximize opportunities for improvement. With ThatWare as your trusted partner, you can embark on your website migration journey with confidence, knowing that your SEO foundation is in expert hands. Let us be your compass in navigating the ever-evolving digital landscape, ensuring that your website migration is not just a transition but a catalyst for sustainable growth.